
Acrylic powders are powerful—when used correctly. Whether you’re a new nail tech or a DIY girl who loves doing her own sets, safety and technique matter just as much as aesthetics.
Here’s how to get the most out of Gabbie’s Mix‑N‑Flex Custom Acrylic Powders, whether you’re in the studio or at your kitchen table.
1. Understand What Acrylic Powder Actually Is
Acrylic systems are made of:
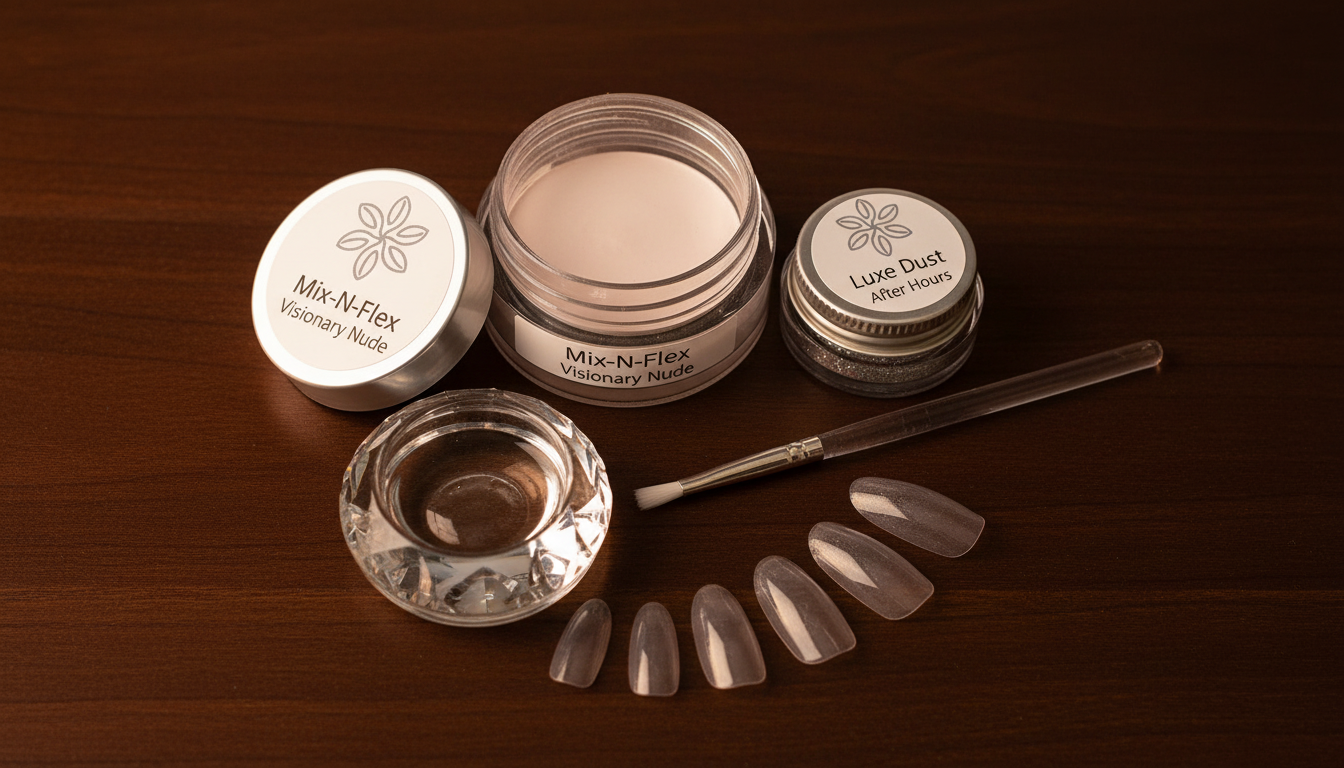
- Powder – like Gabbie’s Mix‑N‑Flex “Visionary Nude”
- Monomer liquid – the liquid that activates the powder
- Optional pigments or glitters – like Gabbie’s Luxe Dust “After Hours”
When these come together, they create a hard, durable structure. That’s amazing for long‑wear nails—but only if you use them with proper ventilation and technique.
2. Set Up A Safe Work Space
Whether at home or in the salon, your space should work with you, not against you.
- Work on a clean, flat surface.
- Keep drinks and food far away from your nail area.
- Use a dust collector or mask if you’re filing frequently.
- Make sure your room is well‑ventilated to reduce fumes.
Professional results come from professional habits.
3. Start With a Neutral Base Shade
For most sets, Gabbie recommends starting with a flattering, versatile base like Mix‑N‑Flex “Visionary Nude.”
A neutral base will:
- Flatter more skin tones
- Blend smoothly with different designs
- Make fills and redesigns easier later
Use bolder colors and glitters as accents, fades, or encapsulated details on top of a strong structure.
4. Learn To Read Your Beads
Product control is everything.
With Gabbie’s powders, you want your beads to look:
- Buttery, not runny – not dripping off the brush
- Self‑leveling – slowly settling into place
- Smooth around the edges – not crumbling or chalky
If your bead is too wet, the product will flood the cuticle. Too dry, and you’ll file for days. Practice on swatch sticks before moving to a full set.
5. Don’t Skip Natural Nail Prep
Even the best acrylic can lift if the base is wrong.
Always:
- Push back cuticles gently
- Remove surface shine with a fine file or e‑file
- Dust off thoroughly
- Use dehydrator and primer if recommended by your system
Taking 5 extra minutes here can add weeks to your set.
6. Respect Your Limits
If you’re brand‑new to acrylics:
- Start with shorter lengths and simple shapes.
- Practice structure (apex, sidewalls, cuticle area) before ultra‑creative designs.
- Consider booking a class or 1:1 lesson with a certified tech.
If something feels unsafe or you’re not sure, reach out to a professional. There’s no shame in learning at a sustainable pace.
7. Removal Matters As Much As Application
Yanking off acrylics at home can undo months of growth.
For safe removal:
- File down top coat and most of the bulk first.
- Soak in acetone with cotton + foil or soak bowl method.
- Gently push off softened product—never force it.
- Finish with Ready‑Set‑Soak and cuticle oil to comfort your natural nails.
Healthy nails + quality products = long‑term success.

0 Comments